In light of Clip Studio Paint Ex becoming popular for iPad Pro users, I was reminded of its feature/ability to pose 3D characters & objects in 3D space.
I had an idea in my head of a drawing to do, but the idea required some difficult perspective. After sketching out my idea and struggling to pin down the perspective, I decided this would be a great time to try out the 3D character posing in Clip Studio Paint to use as a drawing reference!
So I recorded my process and thought I’d give my thoughts on how to utilise this tool in your workflow. This won’t be a tutorial, per se, but I’ll share what I learnt when trying it out, and hopefully that’ll give people an idea of what you can accomplish with this tool, if you’ve never used it before.
Using Clip Studio Paint's 3D Posing tools.
I accessed the 3D characters through Window>Material>Material [Pose], then selected a sitting character (because I knew the characters I was going to pose would be sitting) and dragged it onto the canvas, which creates a 3D-specific layer (if you had more 3D objects, they’ll be on this same layer).
I went through all of the available tools and options and fiddled around with them to get an idea of what I could edit, and how to alter the pose.
You can alter the shape of the character in many ways through several slider tools. This includes making the character look child-like (increasing the size of head and softening the body shape), or making the character skinnier or overweight. You can also individually change the size of various parts of the body, like the length of the legs, or size of the hands, feet, head, etc.
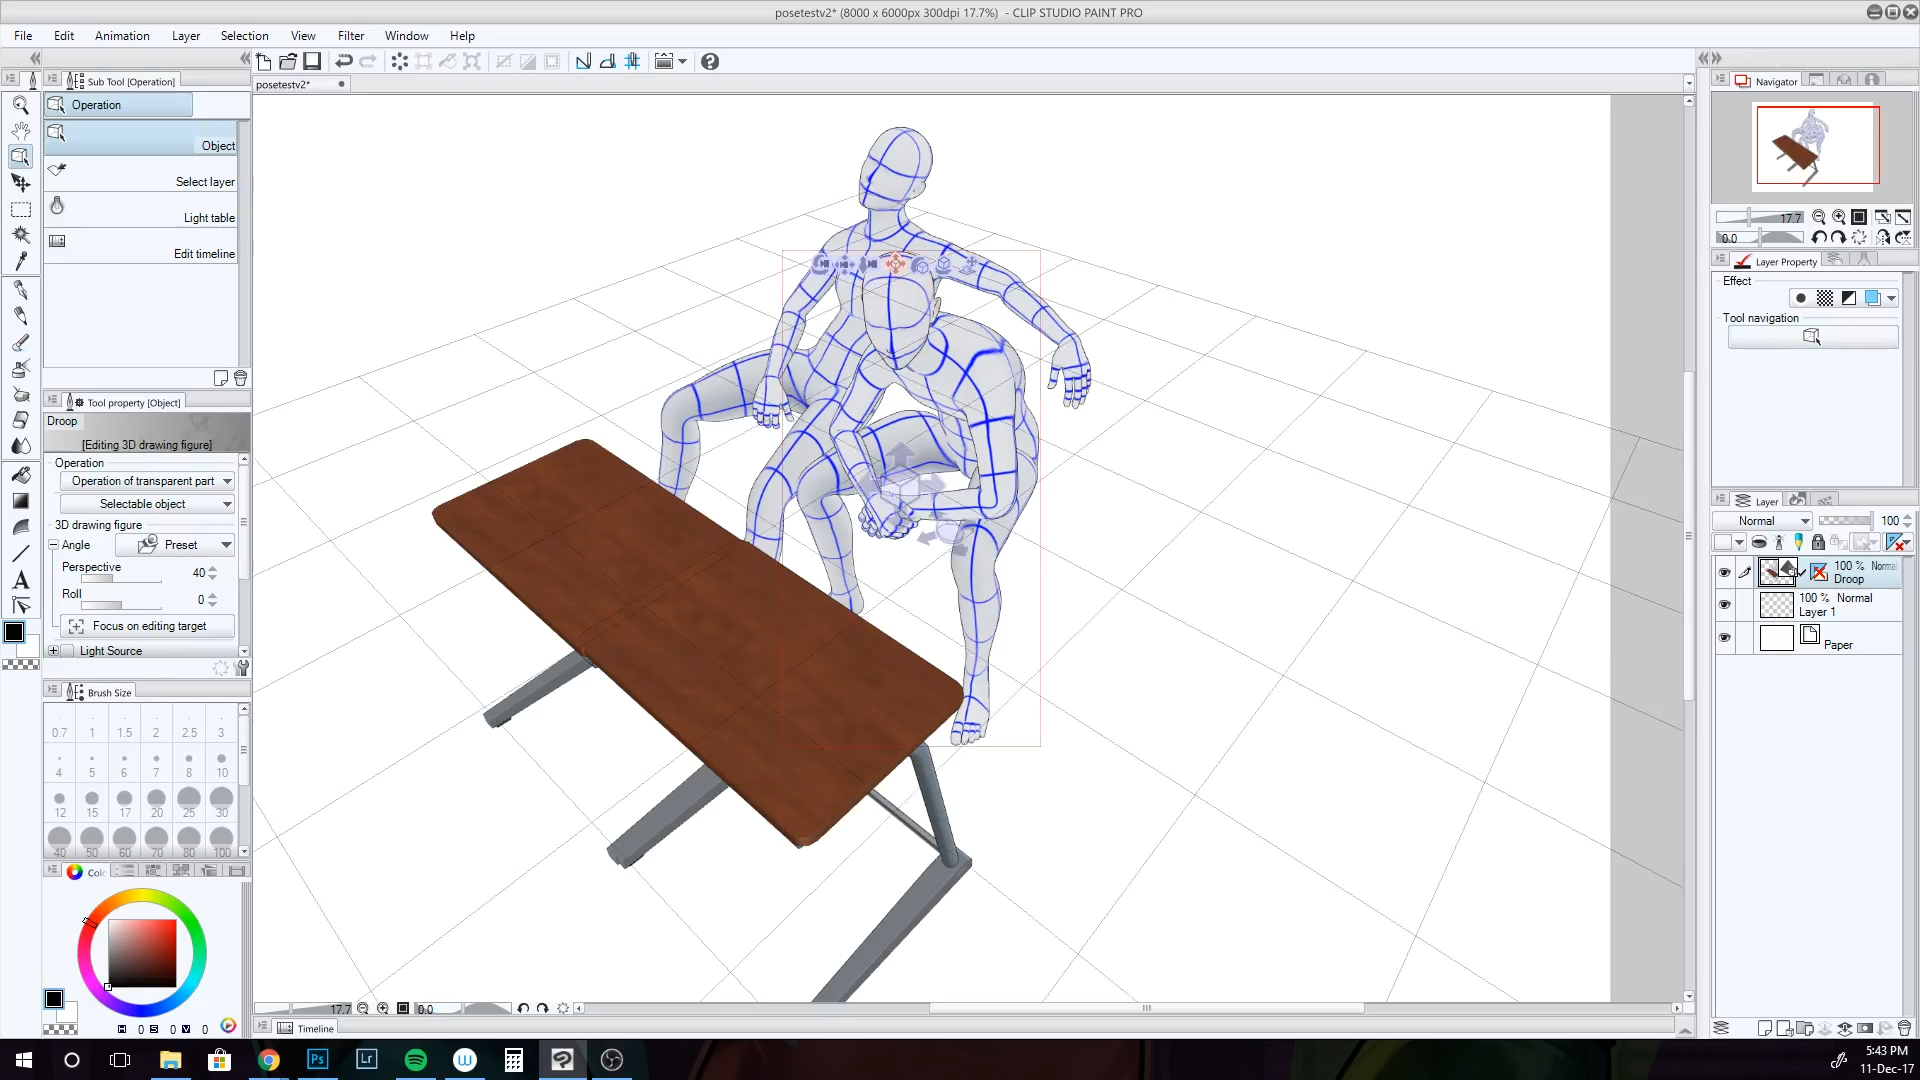
Once I familiarised myself with the tools, I then had the tedious job of shifting every joint into the position I wanted, and making it look realistic and comfortable, whilst also mimicking the pose idea I had in my head. I found that it’s a bit fiddly, and the joints can’t move in all the ways a real-life joint would, but it does enough to get the job done. I found the wrists, pelvis and back joints to be fairly stiff, but I could work them to a point close enough to the pose I wanted.
I discovered the ability to change the focal length of the camera, too, which was exactly what I wanted for this image. I was after a more dynamic perspective, and I achieved it easily just through the Object tool settings, on the left hand toolbar.
I wanted a coffee table in the scene, too, so I just chucked a couple of the classroom desks and adjusted the height so that it worked for what I needed.
I was wanting them sitting on a couch, but I figured I could work that out myself afterwards when drawing, and just use the perspective line guides in Clip Studio to guide me.
Then I just took several screenshots in Clip Studio, ones with the desks turned on and one off (so I could see their feet) and also one where the floor perspective guidelines were visible, and took those into Photoshop because that’s the program I usually work in. But of course you can more simply continue the drawing in Clip Studio Paint, you just work as you normally would by putting a normal drawing layer on top of the 3D layer.
You can download other 3D characters or objects through Clip Studio Paint’s website, but honestly I think you can achieve a lot with the characters you’re automatically supplied with by the program.
I would like to remind everyone that the 3D tool is also available in the iPad version of Clip Studio Paint - although I think the 3D characters may not be pre-installed and you have to download them from their website, which which you can easily access through the Materials window in the app itself.
So hopefully this helped give some of you an idea of how you can utilise this tool within Clip Studio Paint! I think it’s extremely helpful for times like this where I have a specific pose in mind which I can’t find an exact real-life reference for. It is a bit time consuming doing all of the posing and positioning, but it may end up saving you time if you’re trying to work out very difficult poses.
Watch the video below: